
DIY Milk Carton Bird Feeder
Milk Carton Bird Feeder
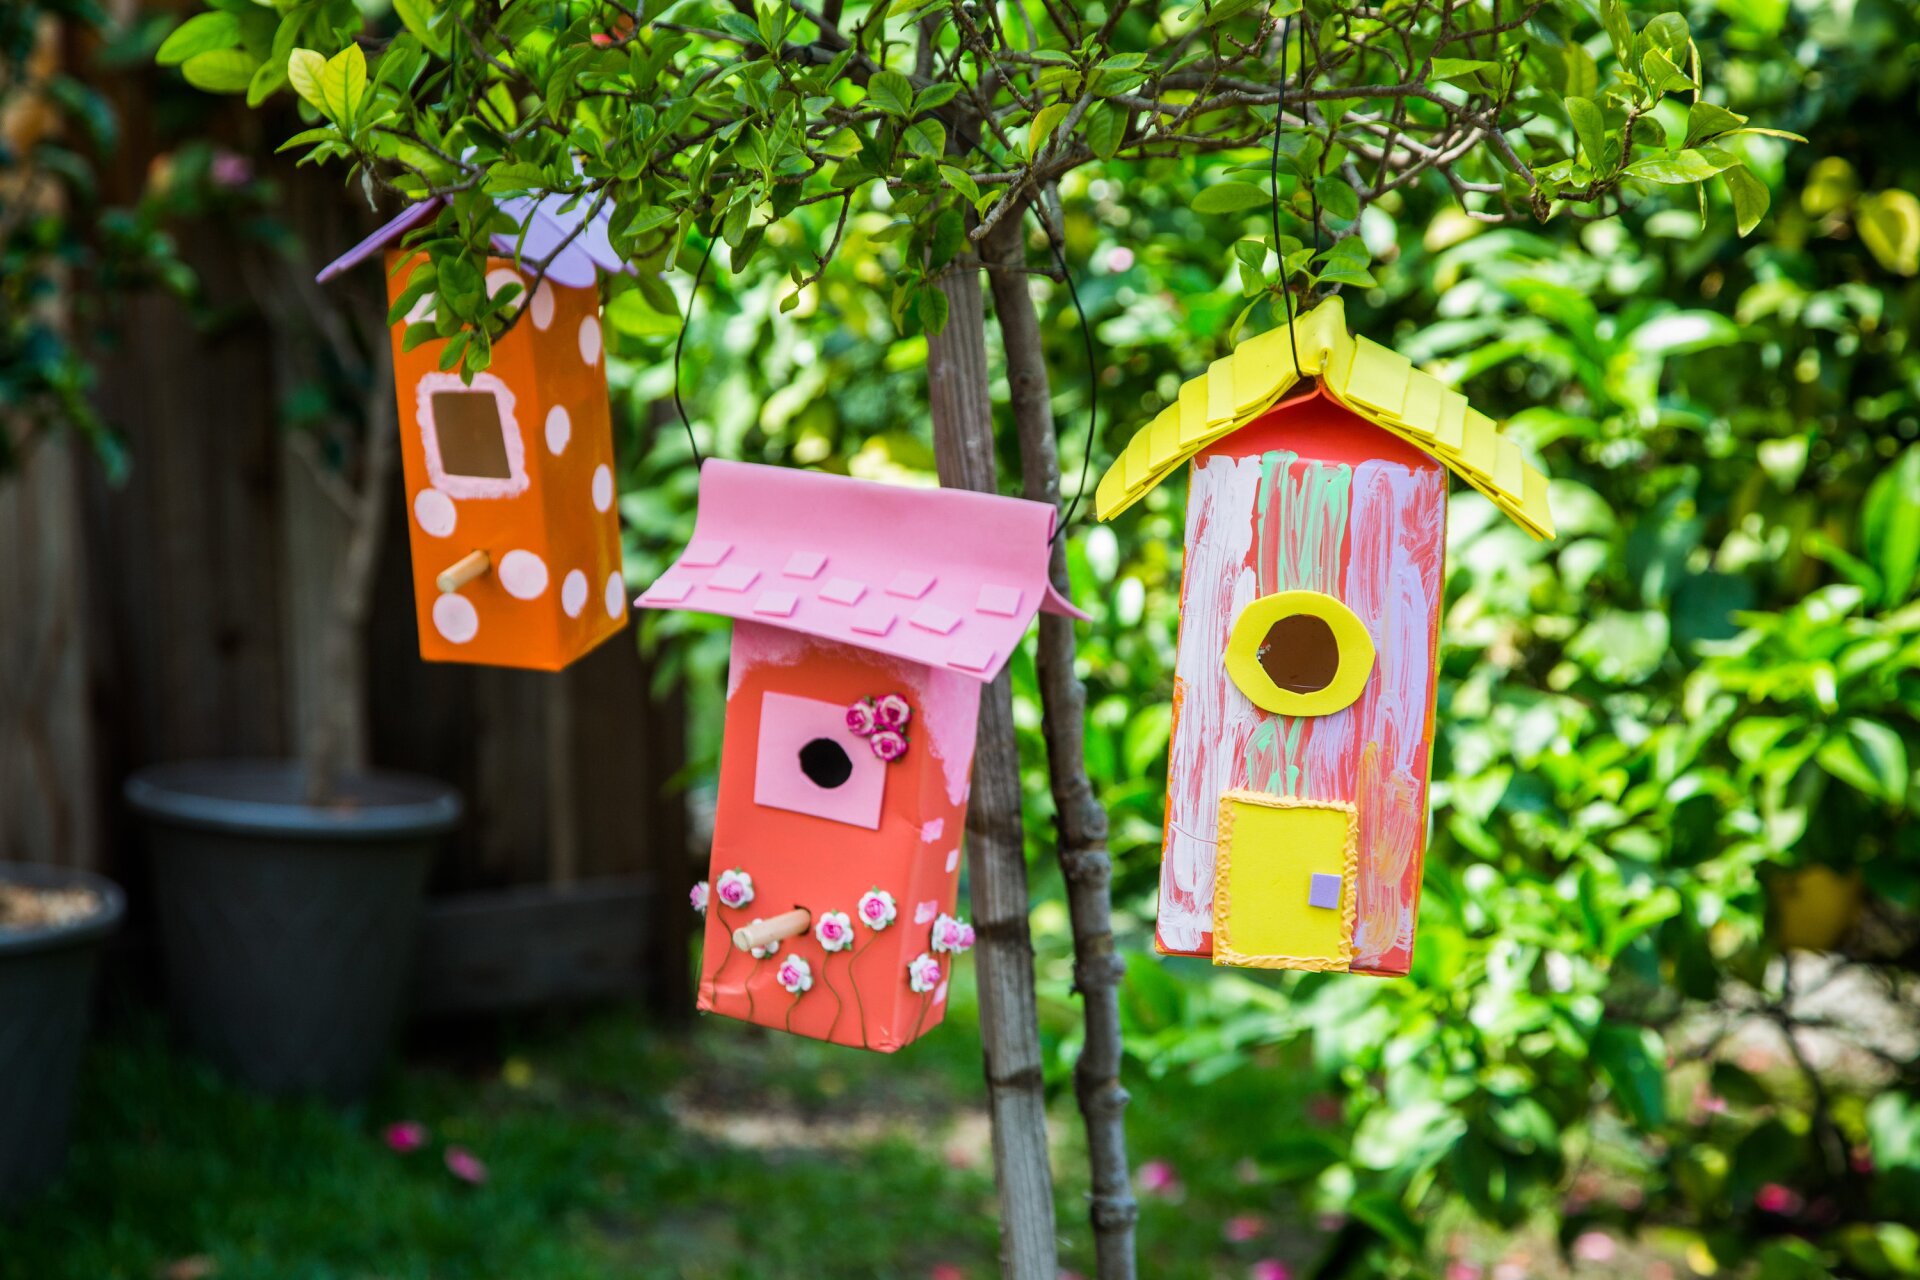
Photo By Hallmark Channel
Materials:
- Milk Cartons
- Paint & Paint brushes
- Hot Glue
- Foam Sheets
- Scissors
- Dowel
- Wire Hanger
- Wire Cutters
- Pliers
Directions:
1. Completely clean out your cartons and let them dry. If your carton has a spout, you may need to cut it off.
2. Paint the entire carton. This is a fun time to get your kids involved. Let them have fun with the design! This will probably need a couple of coats to cover it completely. Start with a couple base coats then let them add their designs.
3. Cut foam sheets to create a roof on the top of your carton. You can get extra creative with this part. Either use an entire sheet to cover or cut out multiple sheets to create little shingles.
4. Cut a hole or square about halfway down the carton (big enough for a bird to enter). Make another on the opposite facing side. Decorate them with more foam sheets if you want a fancier design.
5. Cut a much smaller hole on both sides of the carton, the size of your dowel. Poke the dowel all the way through both sides to give your birds a perch.
6. Cut open your hanger and poke the end of it through the roof. Use pliers to twist it back into your desired shape.
7. Fill the bird feeder with seed and hang up outside!
Watch Tutorial Video: https://www.hallmarkchannel.com/home-and-family/how-to/diy-milk-carton-bird-feeders